Rendering - Space Place
Video link:
Languages: C++, GLSL (Custom Engine). Grade: 92%.
About
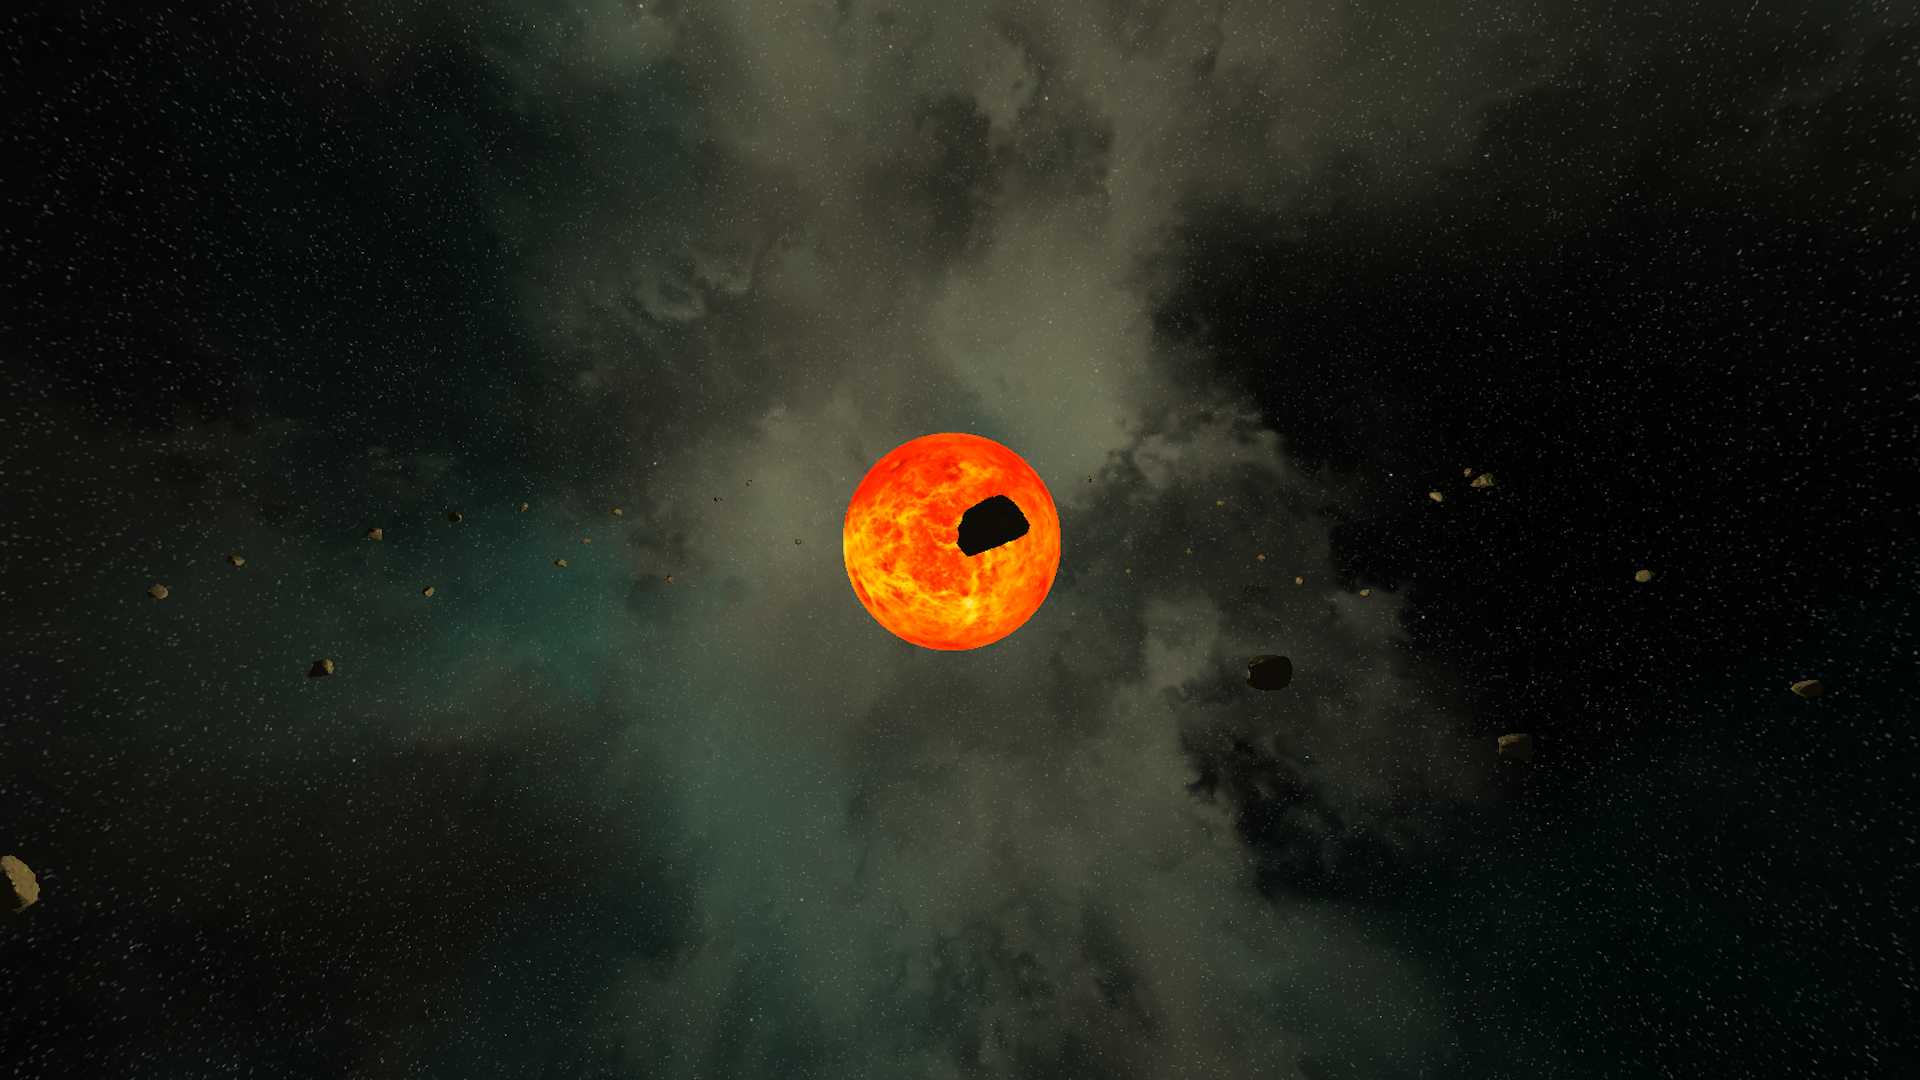
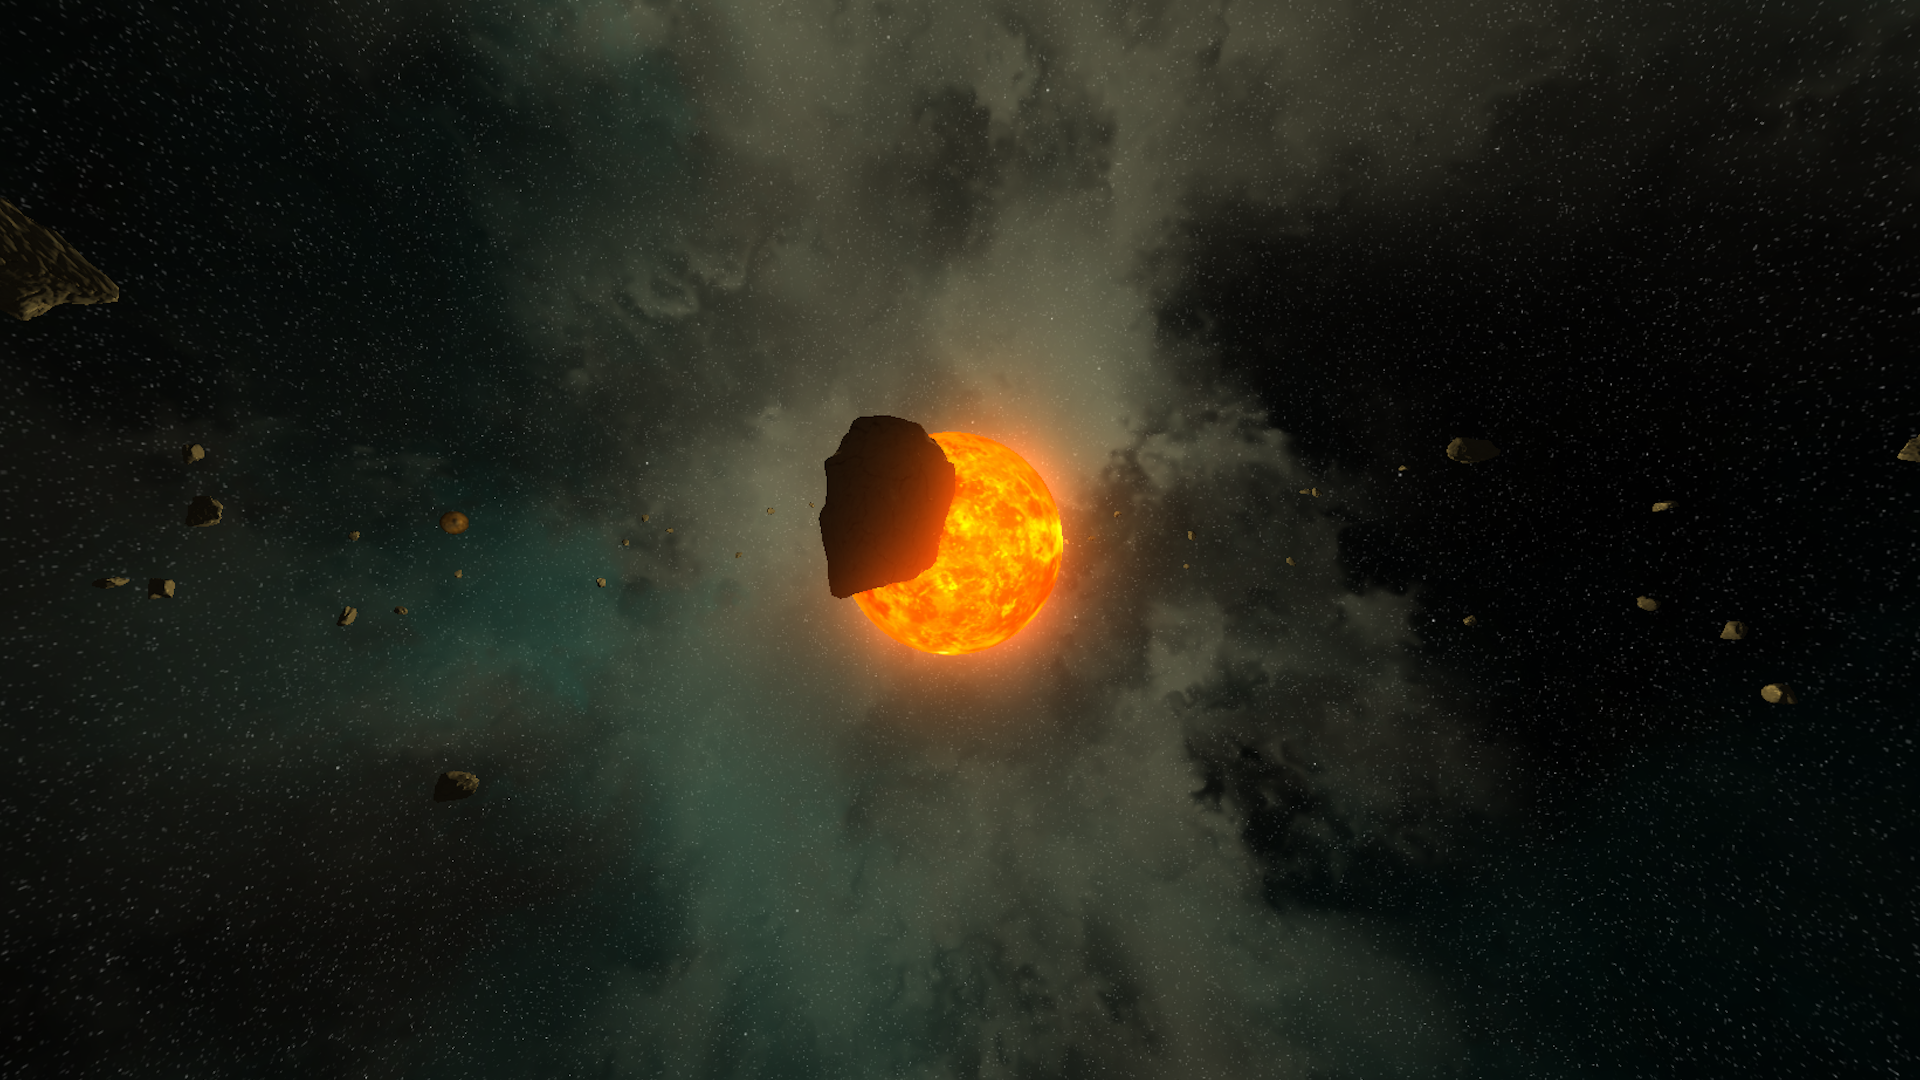
For this module, I put together a space scene and planet surface scene using OpenGL. I implemented a variety of graphical techniques using the knowledge gained from tutorials and assistance from lecturers. Some of the basic graphical techniques that were covered within lecture material, which you can see within this project, include:
- Texturing: as seen in every mesh on screen.
- Depth and transparency: allowing the scene to be 3D.
- Per-fragment lighting: darkening areas not facing a central light source.
- Deffered lighting: as seen when viewing the crystals on the ground scene.
GitHub repo at: https://github.com/JunkyX1122/GraphicsCourse.
Majority of code that isn’t tutorial code can be found in the ‘Blank Project’ and ‘Shaders’ folders.
The Cooler Parts
Despite this project being my first time propperly working with the graphics pipeline and lower-level rendering, I already had many ideas as to how to enhance the scene. I really like visual flare. This includes:
Camera Work
The part of the project I am proud of the most. I introduced movement smoothening by interpolating the camera’s current position and its destination. I also applied this same logic to the yaw, pitch and roll of the camera.
    float dampenCam = 0.01f;
    float dampenRot = 0.01f;
    position = position * (1.0f - dampenCam) + positionSetter * dampenCam;
    pitch = pitch * (1.0f - dampenRot) + rotationsSetter.x * dampenRot;
    yaw = yaw * (1.0f - dampenRot) + rotationsSetter.y * dampenRot;
    roll = roll * (1.0f - dampenRot) + rotationsSetter.z * dampenRot;
Afterwards, I created a basic keyframing system to interpolate the target destination of the camera from one state to another.
    void Renderer::UpdateCameraMovementPlanet(float dt)
    {
        ...
        Vector3 pos1 = cameraPositions_Planet[currentKeyFrame];
        Vector3 pos2 = cameraPositions_Planet[nextKeyFrame];
        Vector3 posTrans = Vector3(
            naive_lerp(pos1.x, pos2.x, cameraTimer),
            naive_lerp(pos1.y, pos2.y, cameraTimer),
            naive_lerp(pos1.z, pos2.z, cameraTimer)
        );
        camera->SetPositionSetter(posTrans);
        ...
    }
    void Renderer::AddCameraKeyFrame(Vector3 pos, Vector3 rot, float timeToReach)
    {
        cameraPositions_Planet.push_back(pos);
        cameraRotations_Planet.push_back(rot);
        cameraKeyTimes_Planet.push_back(timeToReach);
    }
As seen in the video at the start of this page, this whole process allows me to sync the movement up to music.
Scrolling Spherical Texture
With the code provided by the tutorials, it was simple to create a scrolling texture on a quad. However, this logic was not applicable to the planets in my scene due to their spherical shape. To get a texture to scroll longitudinally and latitudinally, I had to create a sepperate fragment shader for the planets where the UV coordinates were transformed to be in a longitude-latitude.
    ...
    vec2 longitudeLatitude =
        vec2(
            (atan(IN.texCoord.y, IN.texCoord.x) / 3.1415926 + 1.0) * 0.5,
            (asin(IN.texCoord.z) / 3.1415926 + 0.5)
            );

    vec2 texCoordsTransformed = (longitudeLatitude * transformValues.xy) // Scaling
                                + transformValues.zw; // Scrolling
    vec4 diffuse = texture(diffuseTex, longitudeLatitude);
    vec4 diffuse2 = texture(diffuseTex2, texCoordsTransformed);
    vec3 bumpNormal = texture(bumpTex, longitudeLatitude).rgb;
    ...

Bloom Post Processing
The concept of post processing was introduced within the tutorials, but its extent was to simply just blur screen. With this, you can put together a form of “bloom” by adding the blurred image’s colours to the base the base image, but I was not satisfied with this alone.
First, I created a shader grabs the areas of the image above a certain lightness threshold.
        fragColor = vec4(0, 0, 0, 1);

        vec4 diffuse = texture2D(sceneTex, IN.texCoord);
        float brightness = dot(diffuse.rgb, vec3(0.9126, 0.7152, 0.0722));

        if(brightness > 1.0)
        {
            diffuse = vec4(diffuse.rgb, 1.0);
        }
        else
        {
            diffuse = vec4(0.0, 0.0, 0.0, 1.0);
        }

        fragColor =  diffuse;
Then, I applied a blur shader to that output. I found that using gausian blur was rather limiting as adjusting the intensity and the range of the blurring prooved difficult. Instead, I used single-direction blur with a curve that I can change the paremeters for during runtime and applied it to the output twice. Once horizontally and once vertically.
#version 330 core

uniform sampler2D sceneTex;

uniform int isVertical;
uniform int bloomRange;
uniform float bloomIntensity;
in Vertex
{
	vec2 texCoord;
} IN;

out vec4 fragColor;

void main(void)
{
	fragColor = vec4(0, 0, 0, 1);
	vec2 delta = vec2(0, 0);

	if(isVertical == 1)
	{
		delta = dFdy(IN.texCoord);
	}
	else
	{
		delta = dFdx(IN.texCoord);
	}
	float z = 0;
        int ranger = bloomRange;
	float startCurve = 8.0f;
	for(int i = 0; i < ranger; i++)
	{
		vec2 offset = delta * (z - (ranger-1)/2);
		vec4 tmp = texture2D(sceneTex, IN.texCoord.xy + offset);

		float curve = 1.0/(pow(2.0,
		abs(

		-startCurve + (startCurve*2)/(ranger-1) * z

		)
		));
		fragColor += tmp * curve * bloomIntensity;
		z+=1.0;
	}
}
All that was left was too add the final result to the base image.
Pixelize Post Processing
For the transition between the ground scene and the space scene, I put together a simple pixelisation shader.
    vec2 newUV = floor(IN.texCoord.xy * screenSize / pixelSize)
                 / screenSize * pixelSize;
    if(floor(pixelSize)<=1)
    {
        newUV = IN.texCoord.xy;
    }
    vec4 tmp = texture2D(sceneTex, newUV);

    fragColor = tmp;
    fragColor = fragColor * colourCorrection;